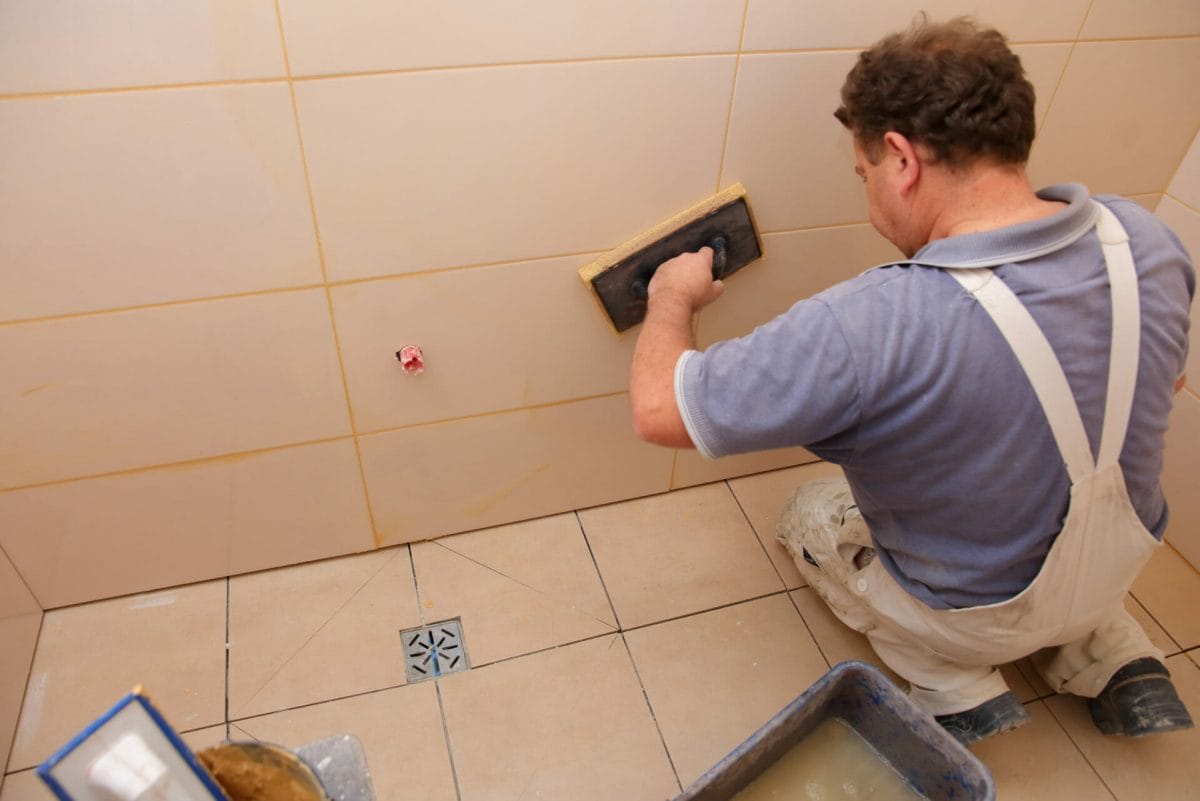
It’s best to reseal your grout once a year, or every other year at the very least. While many sealers claim to last a year, keep in mind that strong cleansers can quickly degrade sealers (as well as foot traffic or water in the showers). Also, keep in mind that sealing your grout is simple and inexpensive…much less expensive than regrouting or attempting to remove mildew (or worse).
Also, keep in mind that the goal is to keep the dirt out, not in. Grout sealing is a preventative measure to keep the colour and consistency of the grout. It’s too late if the grout begins to chip or change colour. I’d recommend incorporating this into your spring cleaning routine.
While keeping a room off-limits for a day or two may seem inconvenient, consider how much easier it will be the next time you clean your grout. Because a good sealer saves time scrubbing, this is one duty that may be added to your regular bathroom floor tile cleaning Sunshine coast regimen.

Is it necessary to seal the grout in your shower?
There is a lot of material out there that is inconsistent and misleading. Remember that grout is porous, so it absorbs both water and whatever is in it (e.g. shampoo, hair dye, cleaning products). You can prevent water and other items from infiltrating the grout by using a grout sealant.
So, yes, you need a grout sealer in the shower, and it’s more vital than in other areas since, as you probably know, showers get a lot of moisture and steam.
The only exception is if you have epoxy grout, which naturally prevents water from permeating the grout (as noted above).
What is the best way to apply grout sealer?
1. As previously stated, it is vital that your grout is dry and fully cured. After the grout has been applied, wait at least 48-72 hours. (If you wait a little longer, it’s fine…as long as the grout is clean.) This should be done within the first two to three weeks. Note: If you’ve been in the shower, wait at least 12 hours before applying the product (but 24 hrs is even better especially if there is less circulation in the room).
2. Tape any wood baseboards or cabinets in the area with masking tape. Any inadvertent stains or deposits should be avoided.
3. Seal the grout lines with the sealer. A foam paintbrush, a small roller, or a paint pad can all be used. Begin in one corner and work your way around the room, completely covering the grout joints. It’s ideal to work in the far corner of the room so you can walk out.
Apply the sealer to each area of the grout in a smooth, even application, making sure to completely cover every corner of the seam. Because you don’t want to miss a grout line or joint, it’s ideal to work in a constant left-to-right pattern to avoid missing anything.
You want to avoid getting the sealer on the tiles, so take your time. Don’t worry if you get sealer on your tiles; simply wash it off with a rag as soon as possible. Most people find it easier to clean a few feet at a time, both to wipe and to avoid having to wipe. So that you don’t end up with a foggy film that’s nearly impossible to remove, remove sealer from the tile before it starts to dry (within five to seven minutes of application).
4. Allow the first coat to sink into the ground for 5 to 15 minutes.
5. Apply a second coat of sealant to the surface. Note that some kinds require extra time between coats (or before wiping the tiles), so check the manufacturer’s directions carefully.
6. Using a dry cotton cloth, wipe the tiles clean. It’s critical to wipe away any excess sealer from the tile. If the grout sealer has dried on the tiles, scrape it off with water and cotton pads.
7. Allow the sealer to cure for 24 to 48 hours. (At this time, do not use the shower or any cleaning products.) Note that depending on the grout sealer you use, curing time may vary, so read the label and follow the manufacturer’s directions. Much sooner, you should be able to walk around the area (usually 2 to 4 hrs later). Keep pets off the floor as well, especially if their paws are moist and/or you don’t want them to lick the substance off their paws.
8. Put the grout sealant to the test. Using your finger, squirt a few drops of water onto the grout line. When the water puddles on top of the grout, you know it’s been sealed properly. This is something I’d like to attempt in a couple places.
Conclusion
The majority of individuals are unaware that their tile grout needs to be sealed. Contractors frequently fail to inform their clients (or else some may not even know). Give your tiles some love and protection now that you understand the need of sealing (and resealing) your grout, as well as how to do it yourself. They’ll look a lot better and last a lot longer.
If you are looking for a professional help, you can contact tile & grout cleaners bendigo or tile & grout cleaners Launceston for guaranteed expert grout cleaning and sealing.
